Showing posts with label L'Oreal. Show all posts

Friday, September 27, 2013

Striping Tape Multicolored Nails


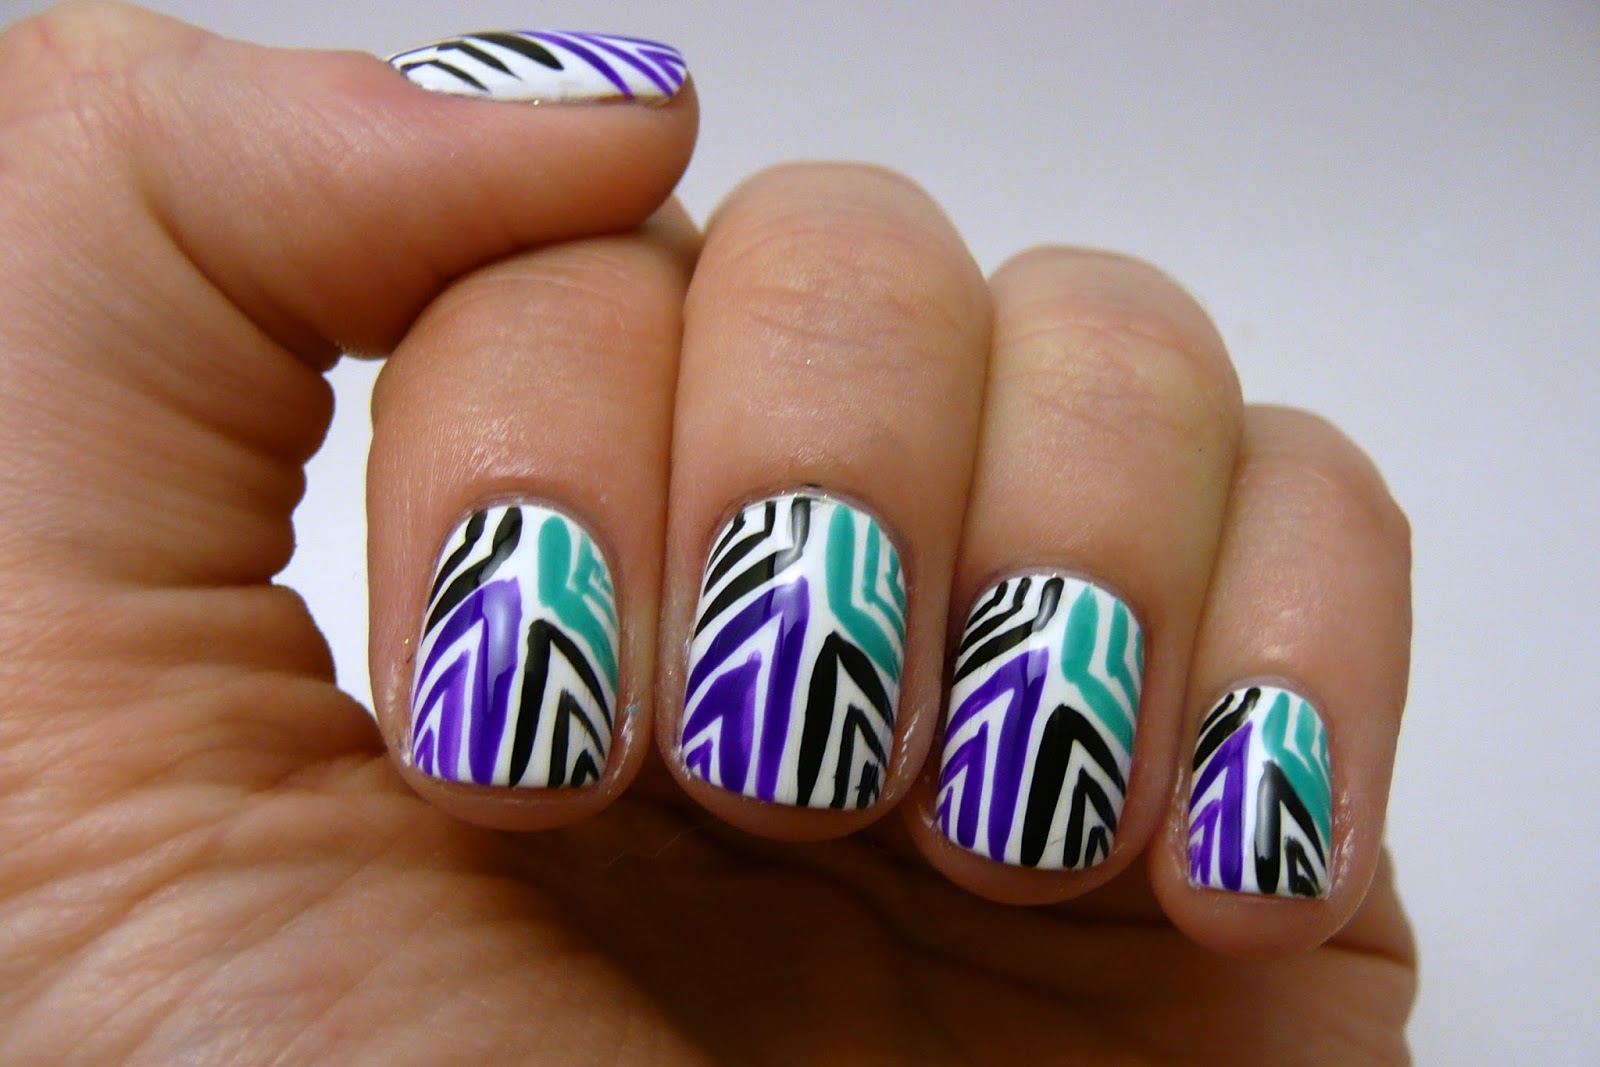
Arden: Hey everyone!  Today's prompt in the 33 Day Challenge is "tape manicure."  I originally was going to do a manicure that involved regular Scotch tape, but then I saw this design on Pinterest and just had to try it out!

I started with one coat of L'Oreal All in One Base coat, and then painted two coats of Sally Hansen White Out.  I added a coat of Essie Good to Go to help my nails dry faster, and then applied striping tape in a random, vaguely spiderweb-like pattern.  I think I used 4-5 pieces of striping tape per nail.


I then cut up a makeup sponge into a bunch of little pieces (one for every color I would be using).  I took the first color I was going to use, dabbed a bit on a piece of junk mail (wax paper or aluminum foil also work well), dipped a piece of sponge in it, and sponged a tiny amount on each nail.  I repeated the process for each color.  When I was done, I removed the tape with tweezers and followed up with a top coat.


Colors used:
Sally Hansen Insta-Dri Pink Blink
CoverGirl Boundless Color Fuchsia Girl
Sally Hansen Insta-Dri Lightening
Essie Mint Candy Apple
Color Club London Calling
Essie Butler Please
Sally Hansen Xtreme Wear Lacey Lilac


I think these turned out AMAZING.  I freaking love them, they might be my most favorite nails I've ever done (I know I say that kind of a lot).  I just loved the sponged nature of the rainbow colors, and how crisp the tape lines look in comparison to the smudginess of the colors.


This was also not that difficult to do-- sponging on colors was great because if I messed up, I could just sponge something else on top of it and no one could tell.  The most time-consuming part of this manicure was applying all of the striping tape (as it always is with striping tape manicures).  The rest was super user-friendly!


What do you guys think of this manicure?  Let me know in the comments!

If you haven't entered our giveaway yet, you should do it!  You can see all the rules and prizes here.

a Rafflecopter giveaway

Also, be sure to check out all of the other people who are participating in the 33DC below!

Monday, September 23, 2013

33DC Dots + September Julep Maven Box + 100th Post!!

 
Arden: Hi friends!  This is our 100th post!  So exciting!  To celebrate, we will be hosting a nail polish giveaway soon-- stay tuned for details!

Today we start the 33 Day Challenge, which organized through the Facebook group Crumpet's Nail Tarts.  For the next several months, every Monday, Wednesday, and Friday we will be featuring nail art according to that day's assigned "challenge" theme.  In case it wasn't obvious, there are 33 challenges!

Today's theme was "dots."  Lots of different places to go with that!  I chose to do another fading dot manicure (be sure to check out the original and the sparkly bridal version as well!).  In keeping with my habit of not getting around to posting about my monthly Julep Maven box until the next month's box is almost on its way, today's nail art is featuring the two colors I received in my September box: Julep's Florence (light tan nude creme) and Padma (dark violet creme).


Full disclosure: I previously entered this manicure in Julep's monthly #MyMaven contest, which is why I chose to use both colors from my box together.  I'm not sure I would've otherwise paired these colors.  They don't look terrible, but probably wouldn't have been my first choice.

I started with my trusty L'Oreal All in One base coat, then painted on two coats of Florence.  I realllllly like Florence, guys, way more than I thought I would.  I didn't have anything else like it in my collection, and it really is a great flesh-colored polish.  The perfect neutral!


Then I sponged on a gradient of Florence and Padma on top.  These colors blended together pretty well in the gradient.  Next, I used a dotting tool to add dots on top of each gradient, alternating the color of each.  I love how the gradient base makes the dots look like they fade out.  This is by far one of my more favorite dot pattern to do!


I finished up with a coat of Essie Good to Go top coat, and then, exactly as promised, I was good to go!  (Though I did have some trouble with the dark purple dots streaking--- ugh!  I probably should've waited longer for the dots to dry before adding my top coat.)

Let me know how you like these in the comments, and be sure to check out the other entries in the 33 Day Challenge below!

Tuesday, September 10, 2013

Geometric Nails


Arden: Today's inspiration comes from this tutorial I saw online a week or two ago:


I wasn't super impressed with the argyle pattern in the tutorial, but I REALLY liked the other nails in the picture.  I liked them so much, I decided to recreate them in the same colors and everything!

I started with a base layer of L'Oreal One Stop Base Coat, then two coats of Sally Hansen White Out.  I applied Essie Good to Go to help the white base dry faster.  Once it was good and dry, I applied striping tape in the pattern I wanted, then painted over it with L'Oreal Not a Cloud in Sight and Cover Girl Non-Stop Stone.  After painting each nail (before the polish had a chance to dry) I removed the striping tape using a pair of tweezers.

Here's the previous instructions in a picture tutorial!


I then painted an additional coat of Essie Good to Go on top of each nail, and voila!  Super fun geometric nails!


You can tell in the pictures that I had a little trouble with the white showing through at the tips of my nails.  Not sure what caused this: not painting the grey or real all the way to the tip? adding the top coat while the polish was too wet? It's probably some combination of all of the above.


If you haven't tried striping tape yet, you SHOULD!  It's really really amazingly cheap (we're talking less than a dollar for 10 rolls) and it has a pretty shallow learning curve.  Once you figure out how to remove it with your tweezers, you're basically good to go!

Plus, it is ALWAYS my striping tape nail designs that make people take one look at my hands and go, "HOW DID YOU DO THAT?!?!?"  So try it!


Wednesday, August 14, 2013

Purple Gradient Aztec Nails


Arden: Sorry, dear readers!  We've been majorly derelict in blogging the last week.  Life got crazy!  But hopefully we're back on track now.

Today I have another not 100% successful nail art manicure to share.  It started with a gradient.  An awesome FOUR COLOR gradient.  I'm still pretty jazzed about my Julep Eden polish, and was looking to use it in a manicure.  I thought, "Hey, I've got a lot of shades of purple polish now.  Why not try a gradient with as many purple polishes as I can fit on my fingers?"  So I did!


I ultimately went with four purple polishes (listed from light to dark):

Sally Hansen I Lilac You
L'Oreal Royalty Reinvented
Zoya Mira
Julep Eden


I followed it up with a matte top coat (Essie Matte About You), because I always think gradients look cool mattified.  (Though as you can tell on my pointer finger, sometimes matte coats also cause the tip of your nail to look not-so-good.)

Friday, August 2, 2013

As Seen on Pinterest: Geometric Lines


 Arden: Hey everyone!  Here's another installment in my As Seen on Pinterest series!

First, the inspiration:

from: http://media-cache-ec0.pinimg.com/originals/ae/3a/77/ae3a7799bae0cdc8040a0f62c9c79c13.jpg
Those are pretty cool, right?  I saw them and had to try them out!

I started with a base of two coats of Julep Bunny.  (Let's be honest, I did this manicure right after I swatched Bunny, and that's why I used it!)


I followed the tutorial above.  I first added the top left section of black lines using our black Color Club striper polish.  Then I did the top right section using Julep Eden (I told you I'd already used it in a bunch of manicures!) and a striper brush from our MASH nail brush kit. 


Up until this point, things were going pretty well.  I was thinking, "These nails look awesome!  I am doing such a great job of making good-lucking, straight lines."

Then the wheels came off the wagon a little bit.  The third section I painted on was the teal quadrant, using L'Oreal Not a Cloud in Sight.  I don't know if it was just a problem with this polish, or if I was getting tired, or if I was just fated to stop making good lines, but this was a little bit of a problem.  It seemed like NONE of the lines were straight-- they all came across thick and goopy.  Alas.  I finished by adding the final black section, but by then I was a little demoralized and so those lines weren't very crisp either.


Now that I can look back with more perspective, I think as a whole these look pretty ok.  They're not the best (and certainly not as well-done as the original post from Pinterest) but I think as a whole they look pretty cool.


I'm going to have to try them again sometime and see if I can do better!

Monday, July 29, 2013

Gradient Leopard Print Nails

 
Arden: Hi everyone!  Today I've got this fun twist on leopard print nails!  I promise I saw the idea for these on the internet SOMEWHERE, but of course I forgot to write it down/save it/pin it, so now I can't properly cite my inspiration.  If you happen to see something really similar to these out there, please leave a comment so I can add the original.

I started by painting my nails with two coats of Essie Blanco.  (This isn't my favorite white nail polish ever, but my OPI My Boyfriend Scales Walls is running out, so I've been looking to other white polishes in my collection to pick up the slack.)


Then I sponged on a gradient on the tips using the white and a light purple and teal.  For the purple nails I used L'Oreal Royalty Reinvented and for the teal ones I used Zoya Wednesday and then Essie Mint Candy Apple on top of that.  (I originally meant to use the Essie, but had Wednesday sitting on the table next to it and accidentally picked up that and used it before realizing my mistake.)


Then I made some splotches on my nails using Zoya Mira and Zoya Wednesday.  I irregularly outlined those spots using Lisl's black Color Club striper polish.  I tried to make those black outlines in C shapes (so not fully outlining the colored splotch).  In the below picture the purple ones are outlined, the teal ones aren't yet.

Monday, July 8, 2013

Colorful Feathery Striped Nails


Arden: When I saw The Nailasaurus' striped manicure technique last Friday, I instantly knew I wanted to try it out!  I initially was just going to use a couple of colors (greens, blues, and purples), but before I knew it I'd ended up using nearly every shade of the rainbow, and I loved it!  Though I wasn't thinking about it going in, the end result really reminded me of some kind of multicolored furry creature that might be in a Dr. Seuss book.  What do you think?

I started by painting my nails with two coats of L'Oreal Creme Puffs.


I thought that looked a little too yellow for the neutral base color I was going for, so I ended up adding two coats of OPI Don't Touch My Tutu and it worked perfectly to transform the color into a little creme shade:


Next, I started adding color!  Using one of the striping brushes from our MASH nail art brush set, I striped on lines of each color.  I tried to alternate between long brush strokes and shorter ones, as well as between darker colors and lighter ones.  I didn't want all of the darker colors to get covered up by the lighter colors, or vice versa.


Wednesday, May 22, 2013

Florida Nails


Arden here: Hi everyone!  I'm super excited to report that I'm headed out tomorrow to visit family in Florida for a week!  I can't wait!

To celebrate my impeding vacation, I painted my nails to match my destination!  After an extensive Google search for "Florida nail art" I discovered this design.  I wasn't sure if I'd be able to pull it off, but I think I did a pretty good job.

I started by painting my nails with two coats of L'Oreal Not a Cloud in Sight.


I then cut up a make-up sponge into little pieces and used each on to sponge on a different color of the sunset.


Thursday, May 16, 2013

Rainbow Vertical Gradient Nails


Arden: I've seen a couple of iterations of rainbow nails on the internet the last several weeks, so I decided to finally try it myself!  For mine, I did a vertical gradient, so instead of sponging on colors from the tip to the base of the nail, I sponged them on from left to right.


I used three colors on each nail: a darker shade of color A, a lighter shade of color A, and then a darker shade of color B (with the colors going in the order of the rainbow, ROYGBIV).  On a couple of nails I initially used four colors (adding a lighter shade of color B), but that didn't really look good, so I ultimately just used 3 colors on each nail.


I used A TON of colors in this manicure!  Here they are (in pictorial and list form):

Monday, May 6, 2013

Review: Essie Matte About You Top Coat


Arden: I did it guys!  I finally invested in a matte top coat.  I did a little bit of internet research, and it looked like most people's favorite matte top coat was the one made by Essie, so I decided to check it out.

For my first time out, I decided to just try a simple reverse triangle manicure.  I started by painting my nails Essie Navigate Her with L'Oreal Royalty Reinvented on my ring finger as an accent nail.  Then I used Scotch tape to tape of little triangles at the base of my nails and painted those in the opposite color.


Monday, April 29, 2013

Crumpet's Nail Tarts: April Tri-Polish Challenge (Belated) Day 4


Helloo!  So, this is very late (my life, and lab work, went "AAAAAAAH"), but here is my fourth and last Tri-Polish Challenge for April!  Tri-Polish Challenge refresher course: it's run by Crumpet's Nail Tarts, and every month we are assigned three colors, choose three corresponding nail polishes, then make four manicures using those polishes!

So, here is number 4!


Tuesday, April 23, 2013

Crumpet's Nail Tarts: April Tri-Polish Challenge Day 3


Hey guys,  here (a little late) is my third manicure for April's Tri-Polish Challenge!  For a quick catch up on the challenge, you can check out the rules here and see the first two manicures I did here and here.  The basic premise is that there are three official colors for each month, and you do four manicures using the same three polishes!  For April I chose L'Oreal Not A Cloud In Sight, Essie Fear Or Desire and China Glaze Make An Entrance.


So for my third manicure I wanted to do a simple and easy leopard print.  I'd played around with making leopard designs for fun on scrap paper so I figured it couldn't be too difficult. Well, I have to say what came out at the end isn't very leopard-y.

Friday, April 19, 2013

One of My Favorite Things: TOMS Outreach Women's Shoes


Today's nails are inspired by one of my new favorite possessions: my TOMS Outreach Classics that benefit the Charlize Theron Africa Outreach Project.  To give you an idea of just how much I love these shoes, let me tell you the story of how I ended up ordering them three different times.

A History of My Pretty Sun TOMS, as Told Through Twitter & Instagram:


Tuesday, April 16, 2013

Crumpet's Nail Tarts: April Tri-Polish Challenge Day 1


Hey everyone! I'm so excited to share my first "challenge" nail art with y'all.  The Tri-Polish challenge is hosted by Crumpet's Nail Tarts and it goes a little something like this: every month there are three official colors chosen, you pick three corresponding polishes and create four manicures using those polishes.  This month the colors are pink, orange and turquoise and I am using China Glaze Make an Entrance, Essie Fear or Desire, and L'Oreal Not A Cloud In Sight.


For my first manicure I did a "sunset" sort of thing.